
Introduction
Moving into a new office comes with a lot of decisions—floor plans, furniture, tech setup, and, of course, how to keep your team refreshed. One of the simplest and most appreciated amenities you can offer is a reliable water cooler. Whether you’re setting up a small shared space or a large corporate floor, ensuring access to clean, cold water is a smart move that supports health, morale, and sustainability. In this beginner’s guide, we’ll walk you through everything you need to know to get your water cooler up and running—without the stress.
Step 1: Assess Your Office Size and Team Needs
Start by considering how many people will use the cooler and how frequently:
- Small teams (under 10 people): A compact benchtop or refillable unit is ideal.
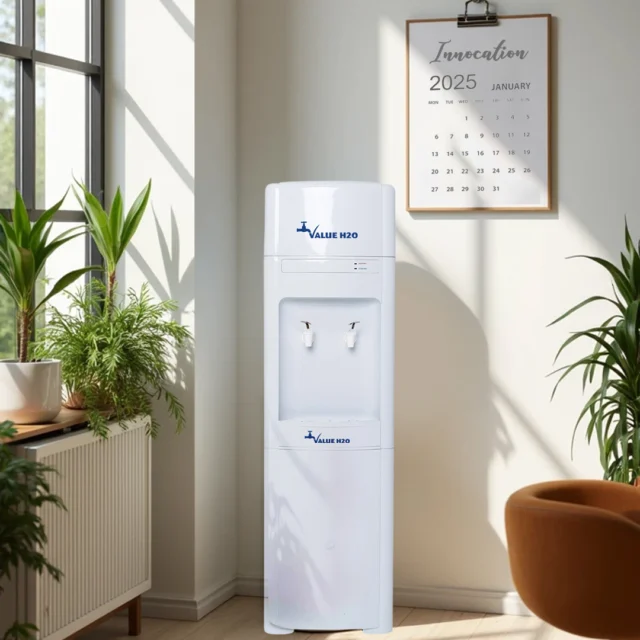
- Medium teams (10–25): A freestanding cooler with larger capacity is a smart choice.
- Large teams (25+): A plumbed-in system ensures continuous hydration without the hassle of bottle replacements.
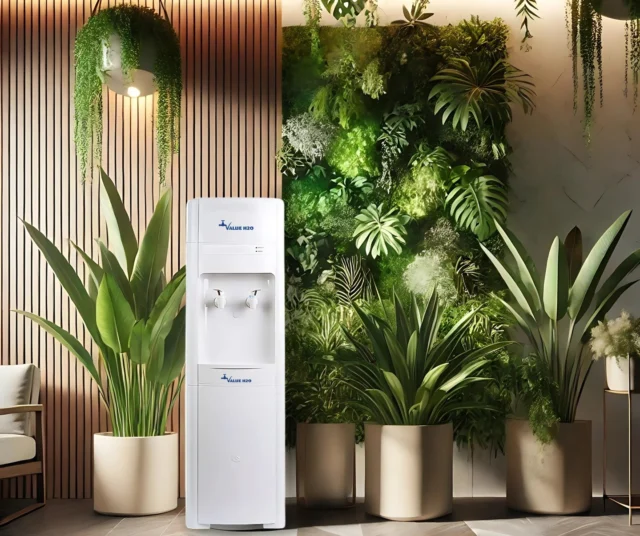
Value H2O offers a variety of models tailored to team sizes and usage habits, making it easy to scale hydration with your business.
Step 2: Choose Between Plumbed-In and Bottle-Fed Options
There are two main types of water coolers:
- Plumbed-in (mains-connected): Draws filtered water directly from your building’s water supply. Ideal for long-term use and high traffic areas.
- Refillable bottle-fed: Uses large water bottles (usually 15L) that can be replaced as needed. Great for offices without plumbing access in certain areas.
If you’re unsure which setup is right for your layout, the team at Value H2O can help with a site assessment or recommendation.
Step 3: Pick the Features You Need
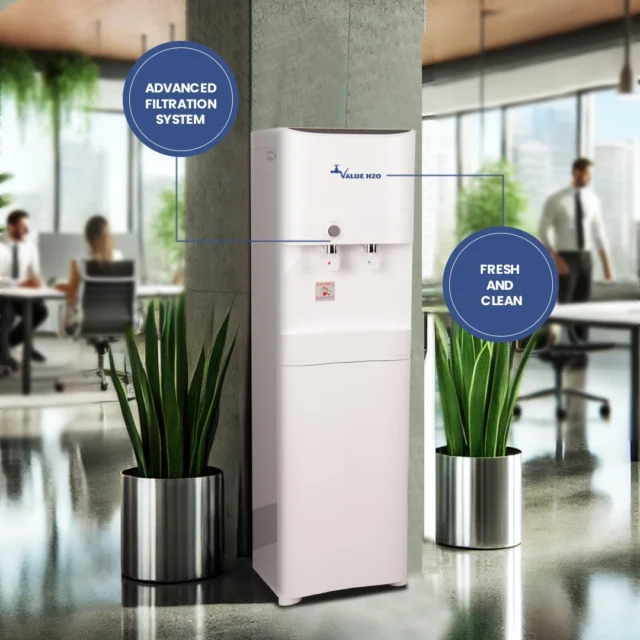
Modern water coolers offer a range of features beyond basic hydration:
- Hot and cold water options for tea and coffee making
- Touch-free dispensing for hygiene-conscious environments
- Energy-efficient systems to keep power bills down
Consider your office culture—do staff drink a lot of tea? Do you want to cut down on kettle use? Choose a model that fits your team’s routine.
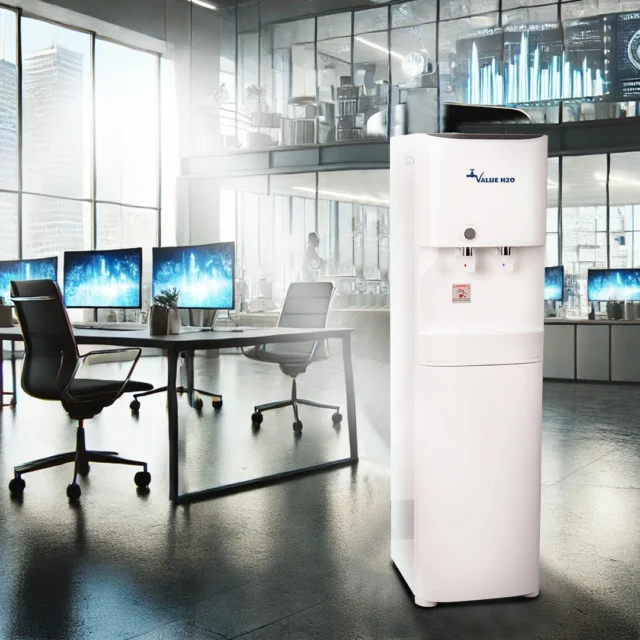
Step 4: Choose a Practical Location
Position your water cooler where it’s easy to access:
- Break rooms
- Hallways
- Reception areas
- Shared kitchenettes
Try to avoid tight corners or areas near equipment that may obstruct access. Cooler placement can also encourage natural breaks and casual team interactions.
Step 5: Arrange Delivery and Installation
With Value H2O, setup is simple. Once you’ve selected your cooler:
- Delivery is arranged at a time that suits you
- Technicians handle installation (including plumbing if required)
- Instructions are provided for cleaning and ongoing use
This takes the pressure off your team and ensures your system is ready to go from day one.
Step 6: Plan for Ongoing Maintenance
To keep your cooler performing at its best, regular servicing is important. Value H2O provides:
- Filter replacements
- Sanitisation services
- Prompt repairs if needed
This ensures your team always has access to safe, great-tasting water—without disruption.
Conclusion
Setting up a water cooler in your new office doesn’t have to be complicated. With the right setup and support, it’s one of the easiest ways to boost wellbeing, sustainability, and day-to-day satisfaction. Whether you’re a growing startup or a national business, Value H2O makes hydration simple, scalable, and stress-free—so you can get on with building your workplace culture from the ground up.
FAQs Answered:
1. What’s the difference between a plumbed-in and a bottle-fed water cooler?
A plumbed-in (or mains-connected) water cooler is directly connected to your building’s water supply, providing a continuous flow of filtered water without the need for bottle replacements. This option is ideal for larger offices with high water consumption. On the other hand, a bottle-fed water cooler uses replaceable water bottles, making it suitable for smaller offices or locations without easy access to plumbing.
2. How do I determine the right size water cooler for my office?
Consider the number of employees and the office layout. For small teams (under 10 people), a compact benchtop or refillable unit may suffice. Medium teams (10–25 people) might benefit from a freestanding cooler with a larger capacity. Large teams (25+ people) should consider a plumbed-in system to ensure continuous hydration without frequent bottle changes.
3. Where should I place the water cooler in the office?
Position the water cooler in accessible, high-traffic areas such as break rooms, hallways, or near the kitchen. Ensure it’s placed near a power outlet and, for plumbed-in models, close to a water source. Avoid placing it in tight corners or areas that might obstruct movement.
4. What features should I look for in a water cooler?
Modern water coolers offer various features to suit different office needs. Consider models with hot and cold water options, touch-free dispensing for hygiene, energy-efficient systems, and compact designs for space-saving. Assess your team’s preferences and the office environment to choose the most suitable features.
5. How does the installation process work?
For bottle-fed coolers, installation is straightforward—place the cooler in the desired location and plug it in. For plumbed-in systems, professional installation is recommended. This involves connecting the cooler to the building’s water supply, which may require a site assessment to determine the best location and ensure compatibility with existing plumbing.
6. What maintenance is required for a water cooler?
Regular maintenance ensures the water cooler functions efficiently and provides clean water. This includes periodic cleaning, filter replacements, and sanitization. Many providers, like Value H2O, offer maintenance services to handle these tasks, ensuring your team always has access to safe, great-tasting water.

